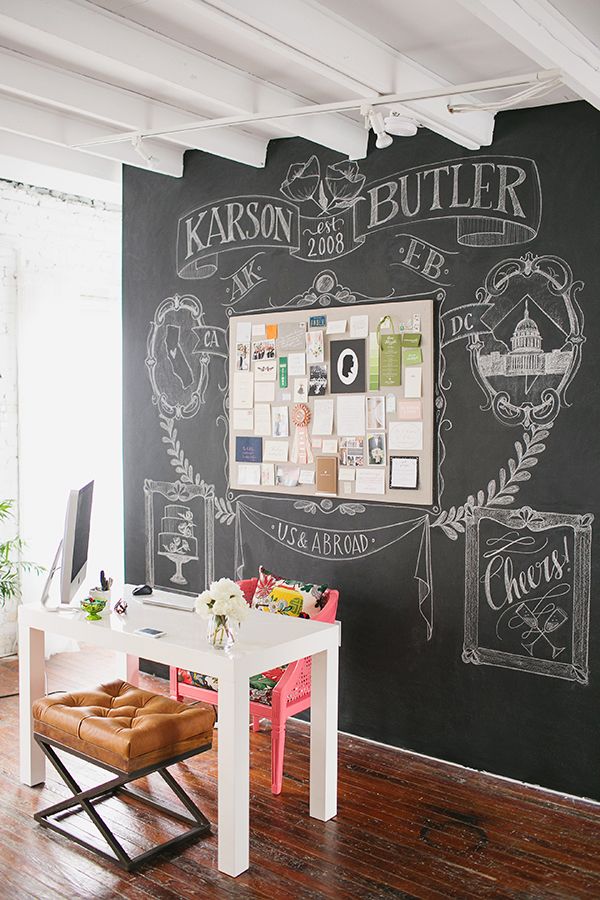
 Haute Mommies, we're loving this really cool concept of decorating our homes with chalkboard walls! How great for our little ones to actually be encouraged to draw all over the walls inside and out. It takes something we were always taught was a big fat NO and has turned it into a big ol YES. Also, chalkboard walls are fab for creating additional playspace for our kids - especially if/when you feel like you don't have enough. The idea of outgrowing our homes is so common with many growing families, here's a way to make an inexpensive, easy change that will add new life to an old, often unused space. Also, if you're anything like us and literally break out in hives if you see a mess of toys on the ground, this is a way to move the mess to the walls- which actually looks cool as hell. So...if decking the
 halls walls is something you're inspired by too, here are the steps in making your own according to www.doityourself.com
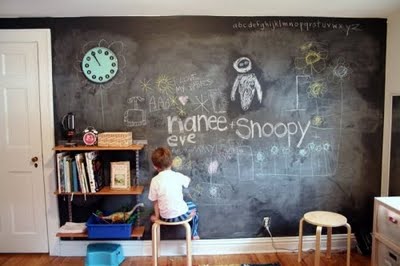
Step 1 - Prep the Wall
First, use the painter's tape to frame the section of the wall you wish to paint--either the entire wall or just a section of it. Thoroughly clean the area, and examine it carefully. Remove any nails or screws, and fill in any holes with spackle. Let the it dry and then sand the spot flat.
If your wall has previously been covered with glossy paint, sand the whole area a bit to help the chalkboard paint stick, or you can paint over the whole surface with primer. If you use primer, let it dry thoroughly before proceeding.

Step 2 - Apply the Chalkboard Paint
Stir the chalkboard paint, and then apply a coat directly to the wall, just as you would any other wall paint. Let dry for 4 hours or according to the manufacturer's specifications. Then apply a second coat.
Let dry for 3 full days, and then carefully remove the painter's tape.
Step 3 - Paint a Frame
To create a transition between the chalkboard and the rest of the wall, paint a 'frame' around your chalkboard in a contrasting color. Mark off the frame with painter's tape. Use a small paintbrush to paint the frame using the contrasting paint color. Let it dry, and then remove the tape.
Step 4 - Prep the Wall for Use
Before you use your chalkboard wall, condition it with a layer of chalk dust. To do this, use the side of a big piece of chalk to color over the entire surface of your chalkboard.
When you have filled in the entire surface, erase it all with the chalkboard eraser. Your chalkboard wall is now ready to use.
Step 5 - Maintain Your Chalkboard
To clean your chalkboard wall, simply wipe it clean as needed with a damp cloth. After wiping it clean, condition your wall again by covering the entire surface with chalk and erasing it again, as you did during initial installation.
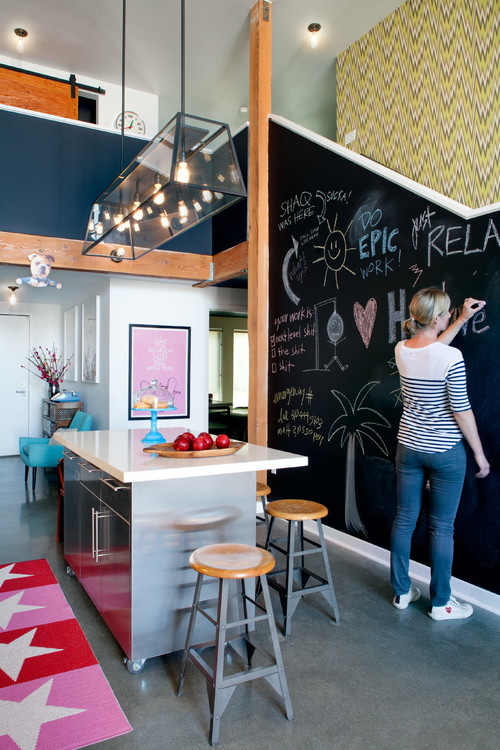
Warning: Jealousy may occur when seeing your child light up with his/her chalkboard wall. HauteMomsLife advises all Haute Mommies to get one of your own- in the kitchen for grocery lists, the dining room to post your dinner menu when having guests over or just to doodle- bc why the hell not!? Stylish, hip and a great conversation piece.
For a great video tutorial, click here: https://www.youtube.com/watch?v=MHJ_VTmCFso

